

The building work snagging process is the systematic approach to identifying, documenting, and resolving defects or incomplete work in construction projects before and after practical completion. In the UK, this process sits at the intersection of contractual obligation, construction quality control, and client satisfaction. Frameworks such as the NHBC Buildmark warranty and the Consumer Code for Home Builders set the professional standard for how defects are handled. Getting snagging right protects your project from disputes, delays, and costly rework. Done poorly, it leaves you chasing contractors for months after handover.
What does the building work snagging process involve?
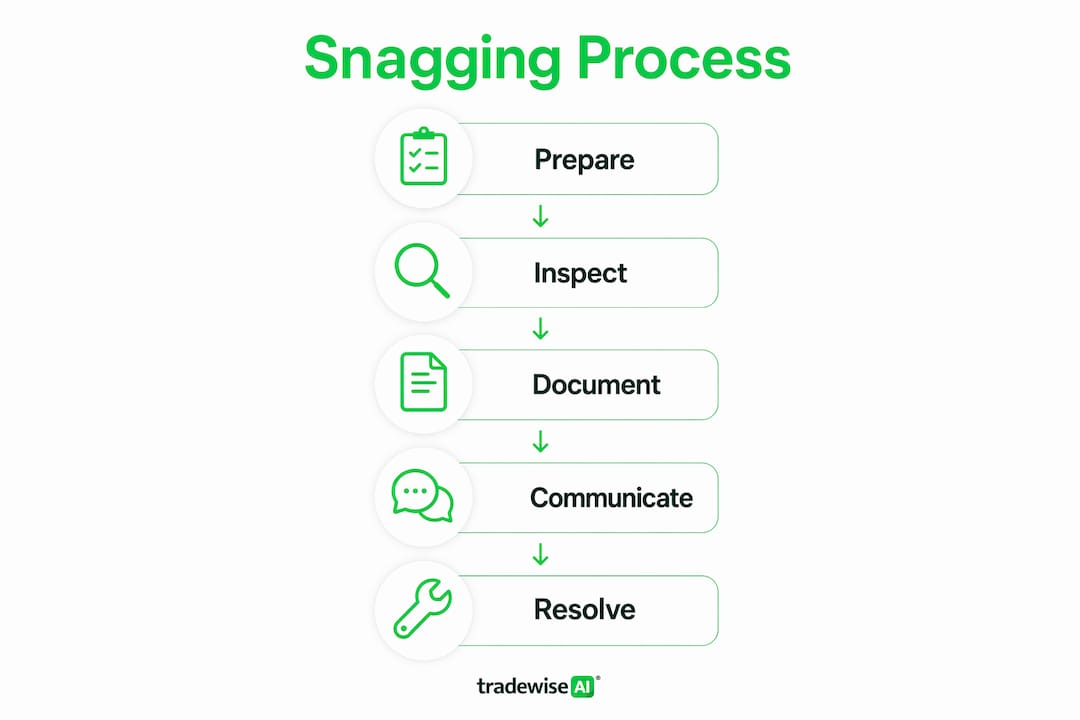
The building work snagging process begins well before you set foot on site with a clipboard. You need access to the original contract documents, technical specifications, and approved drawings. Without these, you cannot confirm whether a detail is genuinely defective or simply built to a different specification than you remembered. Cross-referencing against the contract is the foundation of every credible snagging inspection.
Your inspection toolkit matters more than most project managers admit. At minimum, you need a camera or smartphone with a good lens, a tape measure, a spirit level, a torch for poorly lit areas, and a means of recording defects in real time. Digital snagging apps with photographic evidence and real-time status tracking significantly reduce snag closure times and dispute potential. Paper lists get lost, misread, and disputed. Digital records do not.

Stakeholder coordination is the step most teams skip. Schedule the inspection with enough notice for the contractor's site manager to attend. Agree the date in writing. Confirm that all areas of the building are accessible, including roof spaces, plant rooms, and external works. A building defects inspection conducted without the contractor present creates an immediate dispute about whether the defects existed before or after handover.
Pro Tip: Carry out a preliminary safety walkthrough before the formal snagging inspection. Check that the site is safe to enter, that services are live where expected, and that temporary works have been removed. This protects you and ensures your inspection findings reflect the finished state of the building. For a full pre-inspection checklist, the construction site safety guide covers the key steps.
How to conduct a systematic snagging inspection
The client walkthrough is the most critical hour of the entire snagging process. Starting at the main entrance and working through the building systematically reduces missed defects and improves close-out rates. A random walk through rooms produces a random list. A structured walkthrough produces a complete one.
Follow this sequence for every room and area:
- Start at the entrance. Check the door frame, threshold, ironmongery, and any glazing. Test the lock and closer mechanism.
- Work top to bottom. Inspect the ceiling first, then walls, then floor. This prevents you from missing defects hidden by your own line of sight.
- Test every fitting and fixture. Switch every light on and off. Open every window. Run every tap. Flush every WC. Test every socket with a plug-in tester.
- Check all joinery. Doors must open, close, and latch without force. Skirting boards, architraves, and window boards must be fully fixed and painted.
- Move to external areas last. Inspect drainage, paving, boundary treatments, and external finishes in daylight. External defects are frequently overlooked when teams rush to finish indoors.
Categorise every defect as you record it. The standard three-tier system works as follows: Category A covers safety blockers that prevent occupation and must be resolved before practical completion; Category B covers functional issues that affect the use of the building; Category C covers aesthetic problems that do not affect function or safety. This categorisation directly determines repair timelines and priority.
Record each defect with a clear written description, a photograph, and a precise location reference. "Crack in plaster" is not a defect description. "Horizontal crack in plaster to east wall of bedroom 3, approximately 600mm long at 1.2m height, reference drawing GA-102" is. The specificity of your snagging list checklist determines how quickly contractors can locate and fix each item.
Pro Tip: Use a digital snagging app that allows you to pin defects to a floor plan. This removes all ambiguity about location and gives the contractor a visual reference they can hand directly to the relevant trade. It also creates an automatic audit trail.
How to document snags and communicate with contractors
A verbal snag list is worthless. A signed snag list with descriptions, photos, and agreed timelines is the document that protects you if the relationship with the contractor deteriorates. Both parties must sign the list at the point of handover. The contractor's signature confirms they have received the list and accept responsibility for the items recorded.
Submit the snag list formally. Email is the minimum standard. Customer care portals used by larger developers create a timestamped record that neither party can dispute. Keep copies of every submission, every acknowledgement, and every response. Effective contractor communication practices rely on written records, not phone calls.
Repair timelines should be agreed at the point of submission and tied to defect category:
- Category A (urgent, health and safety): Resolution within 24–48 hours.
- Category B (functional): Resolution within 5–10 working days.
- Category C (aesthetic): Resolution within an agreed programme, typically 14–28 days.
"Developers have considerable latitude under the Consumer Code for Home Builders for timing non-emergency repairs, but are required to respond within appropriate timescales and deal with complaints effectively. This means the burden falls on the construction professional to set clear expectations in writing from the outset, rather than relying on the code to enforce specific deadlines."
Agree access arrangements in writing before any repair visit. Tradespersons must give at least 48 hours' notice before accessing the premises and must maintain clean working practices during visits. Build this requirement into your snag list submission letter. It prevents disputes about access and sets a professional standard for the repair process.
How to manage snag resolution and follow-up inspections
Scheduling repairs is only half the job. Verifying them is the other half. Every completed repair should be inspected jointly by the contractor's representative and the client or project manager before it is signed off. A repair that is marked complete but not verified is an open dispute waiting to happen.
Common pitfalls at this stage include:
- Accepting partial fixes. A contractor who patches a crack without addressing the underlying movement has not resolved the defect. Inspect the repair method, not just the surface finish.
- Paying the final sum prematurely. Withholding a retention of 2.5–5% of the contract value until all snag items are satisfactorily closed is standard practice on professional building projects. This financial lever is your most effective tool for motivating completion.
- Losing track of outstanding items. Use a live snag register that shows the status of every item. Closed, in progress, and outstanding items must be clearly distinguished.
When a contractor repeatedly delays or denies responsibility, escalate through the warranty provider. NHBC Buildmark, Premier Guarantee, and similar schemes have formal resolution processes. A defect investigation report that includes root cause analysis carries significantly more weight in formal claims than a standard inspection report.
Pro Tip: Plan a dedicated end-of-defects-period inspection approximately one month before the defects liability period expires. This is your final opportunity to capture latent defects that only became apparent after occupation, such as condensation, settlement cracking, or drainage issues that surface in wet weather.
The end-of-defects inspection follows the same systematic approach as the original post-construction review. Any new defects identified must be added to the register and submitted formally before the liability period closes.
What are the most common snagging challenges and how do you avoid them?
Contractors delaying repairs is the most frequent complaint in post-completion defect management. The solution is contractual, not conversational. A written contract that specifies repair timelines, access requirements, and consequences for non-compliance gives you a basis for escalation that a verbal agreement does not.
The legal position on snagging and practical completion catches many project managers off guard. Snagging does not provide a right to delay practical completion once a completion notice has been served. The snag list is a post-handover tool, not a mechanism for blocking completion. Project managers should plan to complete on schedule while maintaining snagging oversight for defect closure after handover.
Prioritise Category A items without letting them hold up the entire project unnecessarily. A single safety blocker does not justify refusing to accept a building that is otherwise complete. Address the blocker, accept the building, and manage the remaining snags through the formal process.
Technology removes the most common sources of delay and dispute. Digital snag tracking with automated reminders, photo evidence, and contractor-facing dashboards removes the "I never received it" defence entirely. Builder software features designed for defect tracking give project managers a live view of every outstanding item without chasing by phone.
Pro Tip: For external defects such as paintwork, contractors may legitimately cite seasonal conditions as a reason for delay. This is acceptable only for a limited range of external finishes. Seasonal excuses are not valid for internal repairs. Challenge any contractor who uses weather as a reason to delay internal snagging work.
Key takeaways
A signed, categorised snag list submitted formally at handover is the single most important document in the building work snagging process.
| Point | Details |
|---|---|
| Categorise every defect | Use Category A, B, and C to set repair priority and realistic timelines from day one. |
| Sign and submit formally | Both parties must sign the snag list; submit by email or portal to create a timestamped record. |
| Hold a financial retention | Withhold 2.5–5% of the contract value until all snag items are verified and closed. |
| Conduct joint re-inspections | Verify every repair in person with the contractor before marking it complete. |
| Plan an end-of-defects inspection | Schedule a final walkthrough one month before the defects liability period expires. |
Why the client walkthrough is the hour that decides everything
Project managers often treat snagging as an administrative task. After fifteen years of watching projects close, I am convinced it is the most consequential hour in the entire construction process. The decisions made during that first walkthrough determine whether the defect register is manageable or a source of months of conflict.
The mistake I see most often is rushing the walkthrough because the contractor is present and the atmosphere is uncomfortable. Contractors are not your adversaries during snagging. They want a clean close-out as much as you do. But the moment you accept a building without a thorough inspection, you lose the leverage that the signed snag list provides. Once you have accepted, the dynamic shifts.
I have also seen project managers pay the final sum before the snag list is closed, believing the contractor's assurance that "the last few items will be sorted next week." They rarely are. The financial retention is not a sign of distrust. It is the professional standard that keeps both parties accountable. Use it without apology.
Digital tools have changed what is possible in snagging. A project I observed recently closed its snag list in under three weeks because every defect was pinned to a floor plan, photographed, and assigned to a named trade with a deadline. The contractor's site manager could see the live register on his phone. There was no ambiguity, no lost paperwork, and no dispute about what had been agreed. That is the standard every project should aim for.
— Mateusz
How Tradewisehq supports your snagging workflow
Managing a live snag register across multiple trades, timelines, and communication threads is where projects lose control. Tradewisehq is built for exactly this kind of operational complexity.
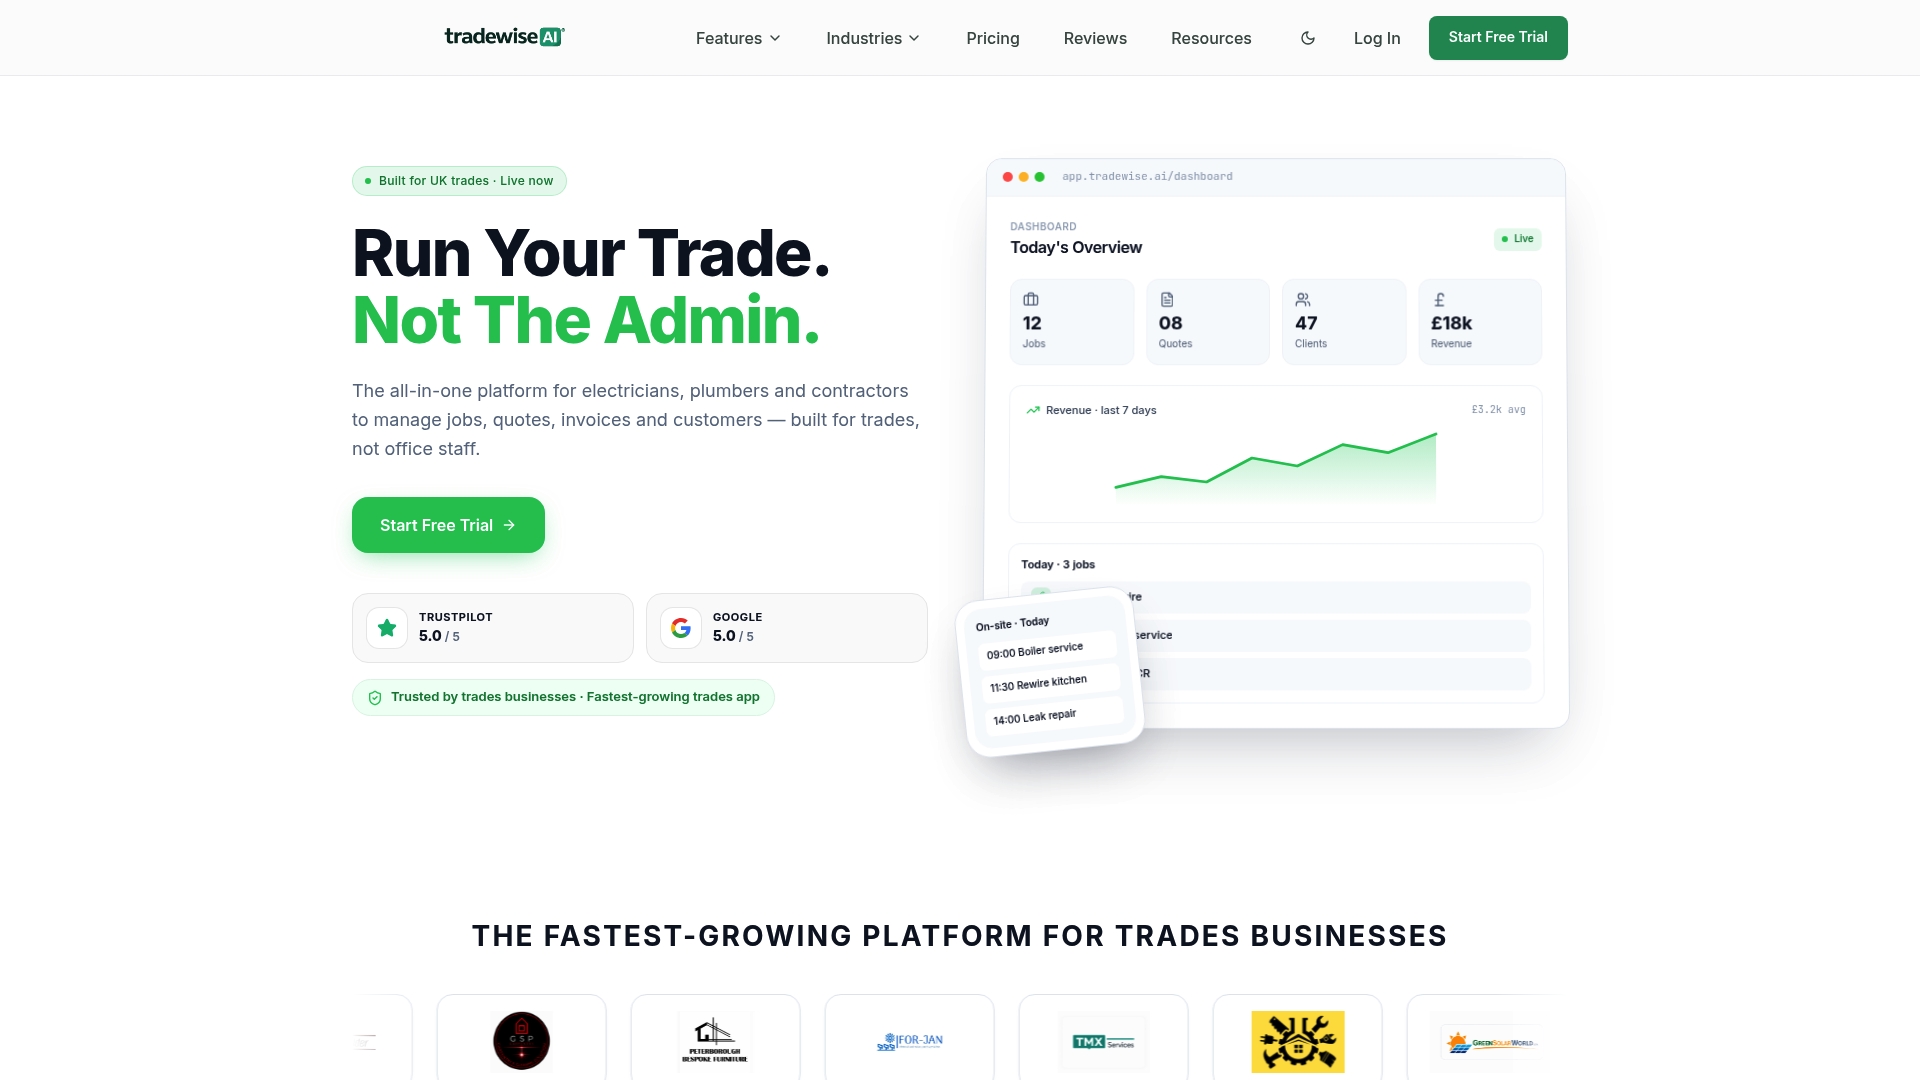
With Tradewisehq, you can assign defects to specific trades, set repair deadlines, and track status in real time from a single mobile-first platform. Every update is logged automatically, creating the audit trail you need for warranty claims and dispute resolution. Communication with contractors happens inside the platform, so nothing gets lost in email threads or missed calls. For construction professionals managing post-completion defect workflows, Tradewisehq replaces the spreadsheet and the phone call with a system that keeps every party accountable. You can also explore job management software for builders to see how the platform fits into your wider project operations.
FAQ
What is the building work snagging process?
The building work snagging process is the systematic identification, documentation, and resolution of defects or incomplete works in a construction project, typically conducted at or after practical completion. It results in a formal snag list that both parties sign and use to track repairs.
When should snagging take place?
Snagging should begin at practical completion, during the client walkthrough, and continue through the defects liability period. A final end-of-defects inspection should be scheduled approximately one month before the liability period closes.
Can you delay practical completion because of snags?
Snagging does not provide a legal right to delay practical completion once a completion notice has been served. The snag list is a post-handover mechanism for tracking and resolving defects, not a basis for refusing to accept the building.
How long do contractors have to fix snags?
Urgent Category A health and safety defects must be resolved within 24–48 hours. Category B functional defects should be addressed within 5–10 working days. Category C aesthetic issues are typically resolved within an agreed programme of 14–28 days.
What financial leverage do you have during snagging?
Withholding a retention of 2.5–5% of the contract value until all snag items are satisfactorily closed is standard practice. This financial lever motivates contractors to complete repairs promptly and to the required standard.